mirror of
https://github.com/alibaba/lowcode-engine.git
synced 2025-12-12 11:20:11 +00:00
107 lines
4.8 KiB
Markdown
107 lines
4.8 KiB
Markdown
---
|
||
title: 接入运行时
|
||
sidebar_position: 1
|
||
---
|
||
|
||
低代码引擎的编辑器将产出两份数据:
|
||
|
||
- 资产包数据 assets:包含物料名称、包名及其获取方式,对应协议中的[《低代码引擎资产包协议规范》](/site/docs/specs/assets-spec)
|
||
- 页面数据 schema:包含页面结构信息、生命周期和代码信息,对应协议中的[《低代码引擎搭建协议规范》](/site/docs/specs/lowcode-spec)
|
||
|
||
经过上述两份数据,可以直接交由渲染模块或者出码模块来运行,二者的区别在于:
|
||
|
||
- 渲染模块:使用资产包数据、页面数据和低代码运行时,并且允许维护者在低代码编辑器中用 `低代码(LowCode)`的方式继续维护;
|
||
- 出码模块:不依赖低代码运行时和页面数据,直接生成可直接运行的代码,并且允许维护者用 `源码(ProCode)` 的方式继续维护,但无法再利用低代码编辑器;
|
||
|
||
> 渲染和出码的详细阐述可参考此文:[低代码技术在研发团队的应用模式探讨](https://mp.weixin.qq.com/s/Ynk_wjJbmNw7fEG6UtGZbQ)
|
||
|
||
## 渲染模块
|
||
|
||
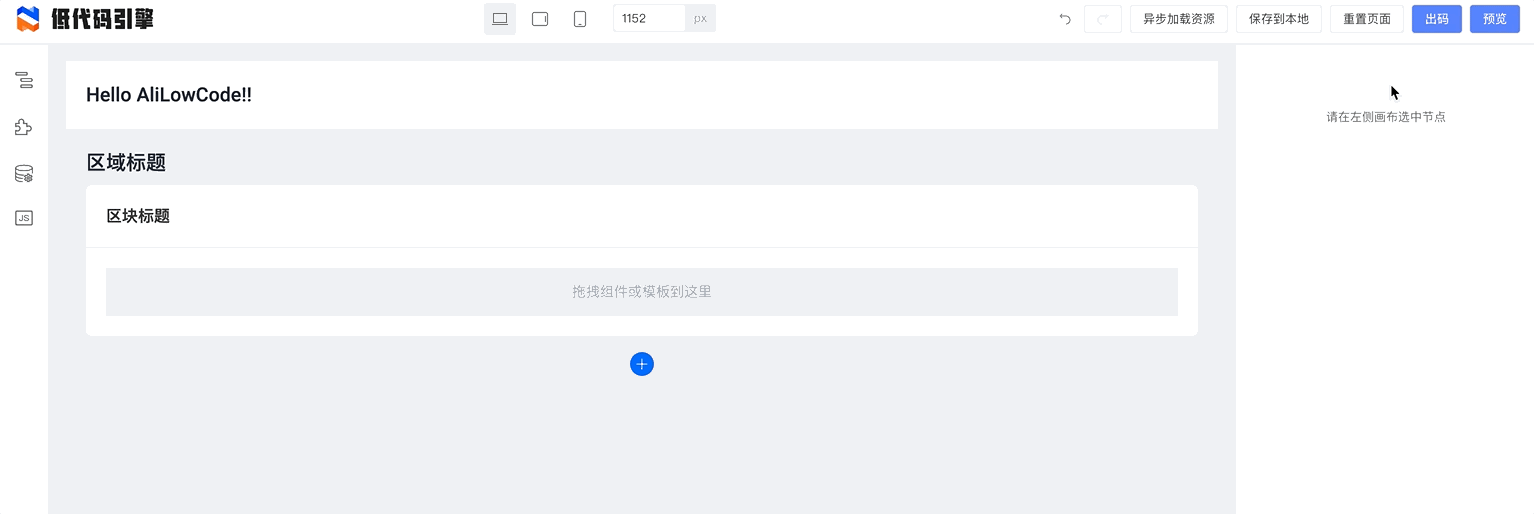
[在 Demo 中](https://lowcode-engine.cn/demo/demo-general/index.html),右上角有渲染模块的示例使用方式:
|
||
|
||
|
||
基于官方提供的渲染模块 [@alilc/lowcode-react-renderer](https://github.com/alibaba/lowcode-engine/tree/main/packages/react-renderer),你可以在 React 上下文渲染低代码编辑器产出的页面。
|
||
|
||
### 构造渲染模块所需数据
|
||
|
||
渲染模块所需要的数据需要通过编辑器产出的数据进行一定的转换,规则如下:
|
||
|
||
- schema:从编辑器产出的 projectSchema 中拿到 componentsTree 中的首项,即 `projectSchema.componentsTree[0]`;
|
||
- components:需要根据编辑器产出的资产包 assets 中,根据页面 projectSchema 中声明依赖的 componentsMap,来加载所有依赖的资产包,最后获取资产包的实例并生成物料 - 资产包的键值对 components。
|
||
|
||
这个过程可以参考 demo 项目中的 `src/preview.tsx`:
|
||
|
||
```typescript
|
||
async function getSchemaAndComponents() {
|
||
const packages = JSON.parse(window.localStorage.getItem('packages') || '');
|
||
const projectSchema = JSON.parse(window.localStorage.getItem('projectSchema') || '');
|
||
const { componentsMap: componentsMapArray, componentsTree } = projectSchema;
|
||
const componentsMap: any = {};
|
||
componentsMapArray.forEach((component: any) => {
|
||
componentsMap[component.componentName] = component;
|
||
});
|
||
const schema = componentsTree[0];
|
||
|
||
const libraryMap = {};
|
||
const libraryAsset = [];
|
||
packages.forEach(({ package: _package, library, urls, renderUrls }) => {
|
||
libraryMap[_package] = library;
|
||
if (renderUrls) {
|
||
libraryAsset.push(renderUrls);
|
||
} else if (urls) {
|
||
libraryAsset.push(urls);
|
||
}
|
||
});
|
||
|
||
const vendors = [assetBundle(libraryAsset, AssetLevel.Library)];
|
||
|
||
const assetLoader = new AssetLoader();
|
||
await assetLoader.load(libraryAsset);
|
||
const components = await injectComponents(buildComponents(libraryMap, componentsMap));
|
||
|
||
return {
|
||
schema,
|
||
components,
|
||
};
|
||
}
|
||
```
|
||
|
||
### 进行渲染
|
||
|
||
拿到 schema 和 components 以后,您可以借由资产包数据和页面数据来完成页面的渲染:
|
||
```tsx
|
||
import React from 'react';
|
||
import ReactRenderer from '@alilc/lowcode-react-renderer';
|
||
|
||
const SamplePreview = () => {
|
||
return (
|
||
<ReactRenderer
|
||
schema={schema}
|
||
components={components}
|
||
/>
|
||
);
|
||
}
|
||
```
|
||
|
||
> 注 1:您可以注意到,此处是依赖了 React 进行渲染的,对于 Vue 形态的渲染或编辑器支持,详见[对应公告](https://github.com/alibaba/lowcode-engine/issues/236)。
|
||
>
|
||
> 注 2:本节示例可在 Demo 代码里找到更完整的版本:[https://github.com/alibaba/lowcode-demo/blob/main/demo-general/src/preview.tsx](https://github.com/alibaba/lowcode-demo/blob/main/demo-general/src/preview.tsx)
|
||
|
||
|
||
## 出码模块
|
||
|
||
[在 Demo 中](https://lowcode-engine.cn/demo/demo-general/index.html),右上角有出码模块的示例使用方式:
|
||
|
||

|
||
|
||
> 本节示例可在出码插件里找到:[https://github.com/alibaba/lowcode-code-generator-demo](https://github.com/alibaba/lowcode-code-generator-demo)
|
||
|
||
|
||
## 低代码的生产和消费流程总览
|
||
|
||
经过“接入编辑器” - “接入运行时”这两节的介绍,我们已经可以了解到低代码所构建的生产和消费流程了,梳理如下图:
|
||
|
||

|
||
|
||
如上述流程所示,您一般需要一个后端项目来保存页面数据信息,如果资产包信息是动态的,也需要保存资产包信息。
|