mirror of
https://github.com/linyqh/NarratoAI.git
synced 2025-12-11 18:42:49 +00:00
6.0 KiB
6.0 KiB
NarratoAI 😎📽️
一站式 AI 影视解说+自动化剪辑工具🎬🎞️
📖 English | 简体中文
NarratoAI 是一个自动化影视解说工具,基于LLM实现文案撰写、自动化视频剪辑、配音和字幕生成的一站式流程,助力高效内容创作。
首页
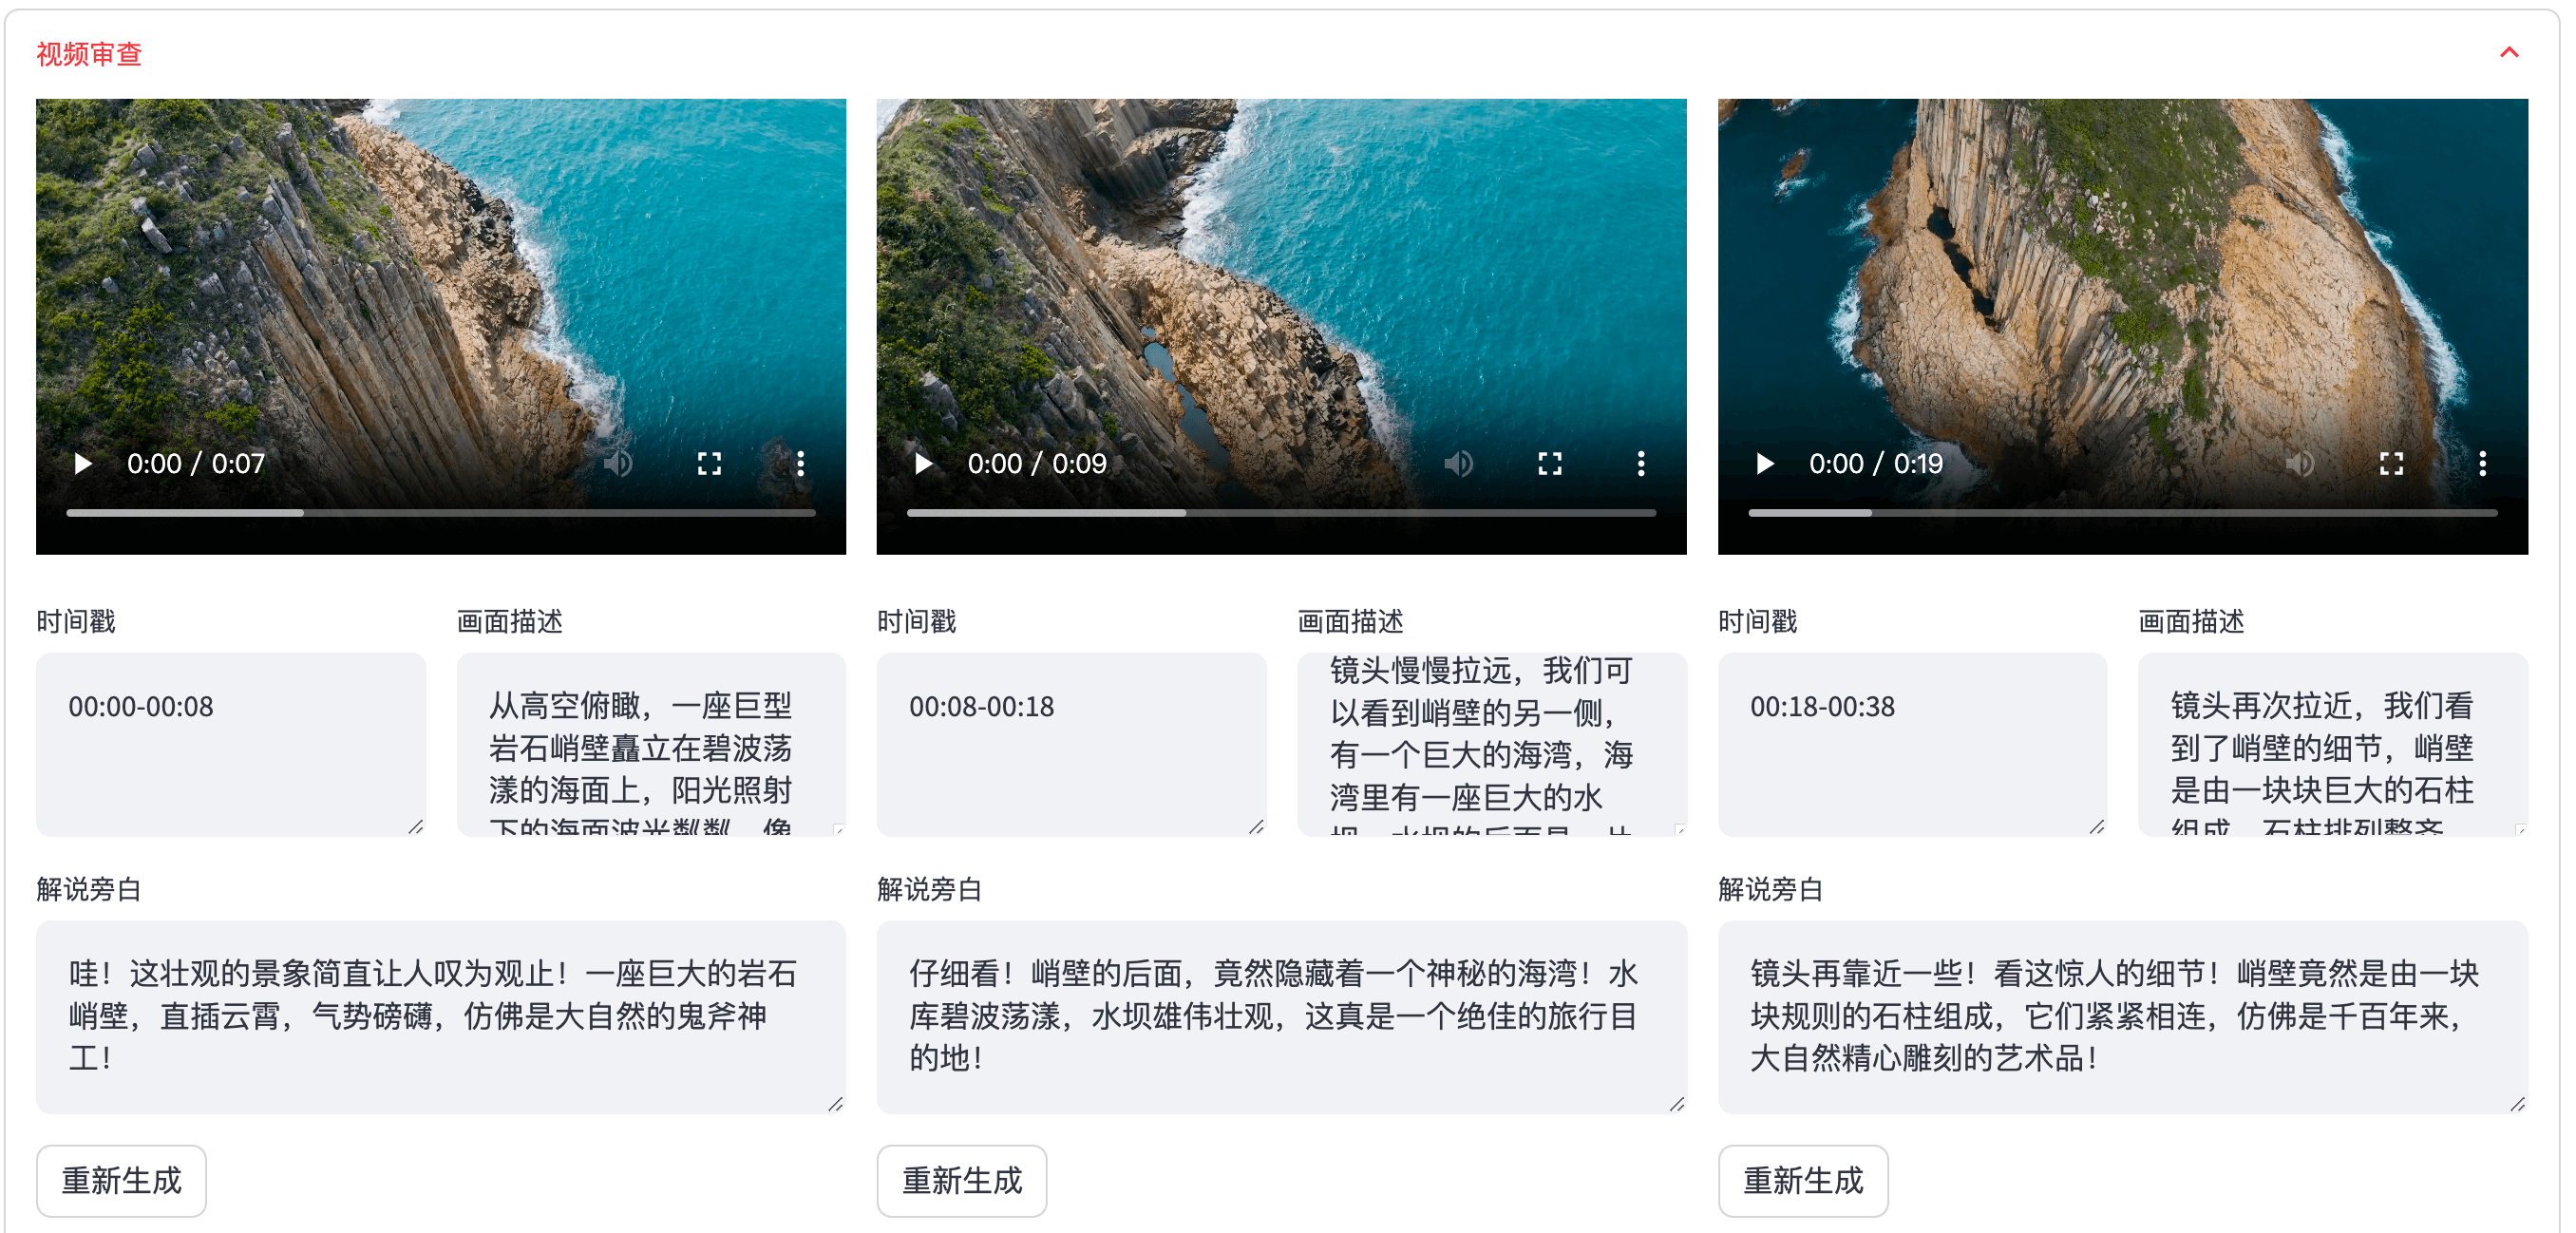
视频审查界面

配置要求 📦
- 建议最低 CPU 4核或以上,内存 8G 或以上,显卡非必须
- Windows 10 或 MacOS 11.0 以上系统
快速开始 🚀
申请 Google AI studio 账号
- 访问 https://aistudio.google.com/app/prompts/new_chat 申请账号
- 点击
Get API Key申请 API Key - 申请的 API Key 填入
config.example.toml文件中的gemini_api_key配置
配置 proxy VPN
配置vpn的方法不限,只要能正常访问 Google 网络即可,本文采用的是 chash
- 记住 clash 服务的端口,一般为
http://127.0.0.1:7890 - 若端口不为
7890,请修改docker-compose.yml文件中的VPN_PROXY_URL为你的代理地址environment: - "VPN_PROXY_URL=http://host.docker.internal:7890" # 修改为你的代理端口;host.docker.internal表示物理机的IP - (可选)或者修改
config.example.toml文件中的proxy配置[proxy] ### Use a proxy to access the Pexels API ### Format: "http://<username>:<password>@<proxy>:<port>" ### Example: "http://user:pass@proxy:1234" ### Doc: https://requests.readthedocs.io/en/latest/user/advanced/#proxies http = "http://xx.xx.xx.xx:7890" https = "http://xx.xx.xx.xx:7890"
docker部署🐳
① 垃取项目,启动Docker
git clone https://github.com/linyqh/NarratoAI.git
cd NarratoAI
docker-compose up
② 访问Web界面
打开浏览器,访问 http://127.0.0.1:8501
③ 访问API文档
打开浏览器,访问 http://127.0.0.1:8080/docs 或者 http://127.0.0.1:8080/redoc
使用方法
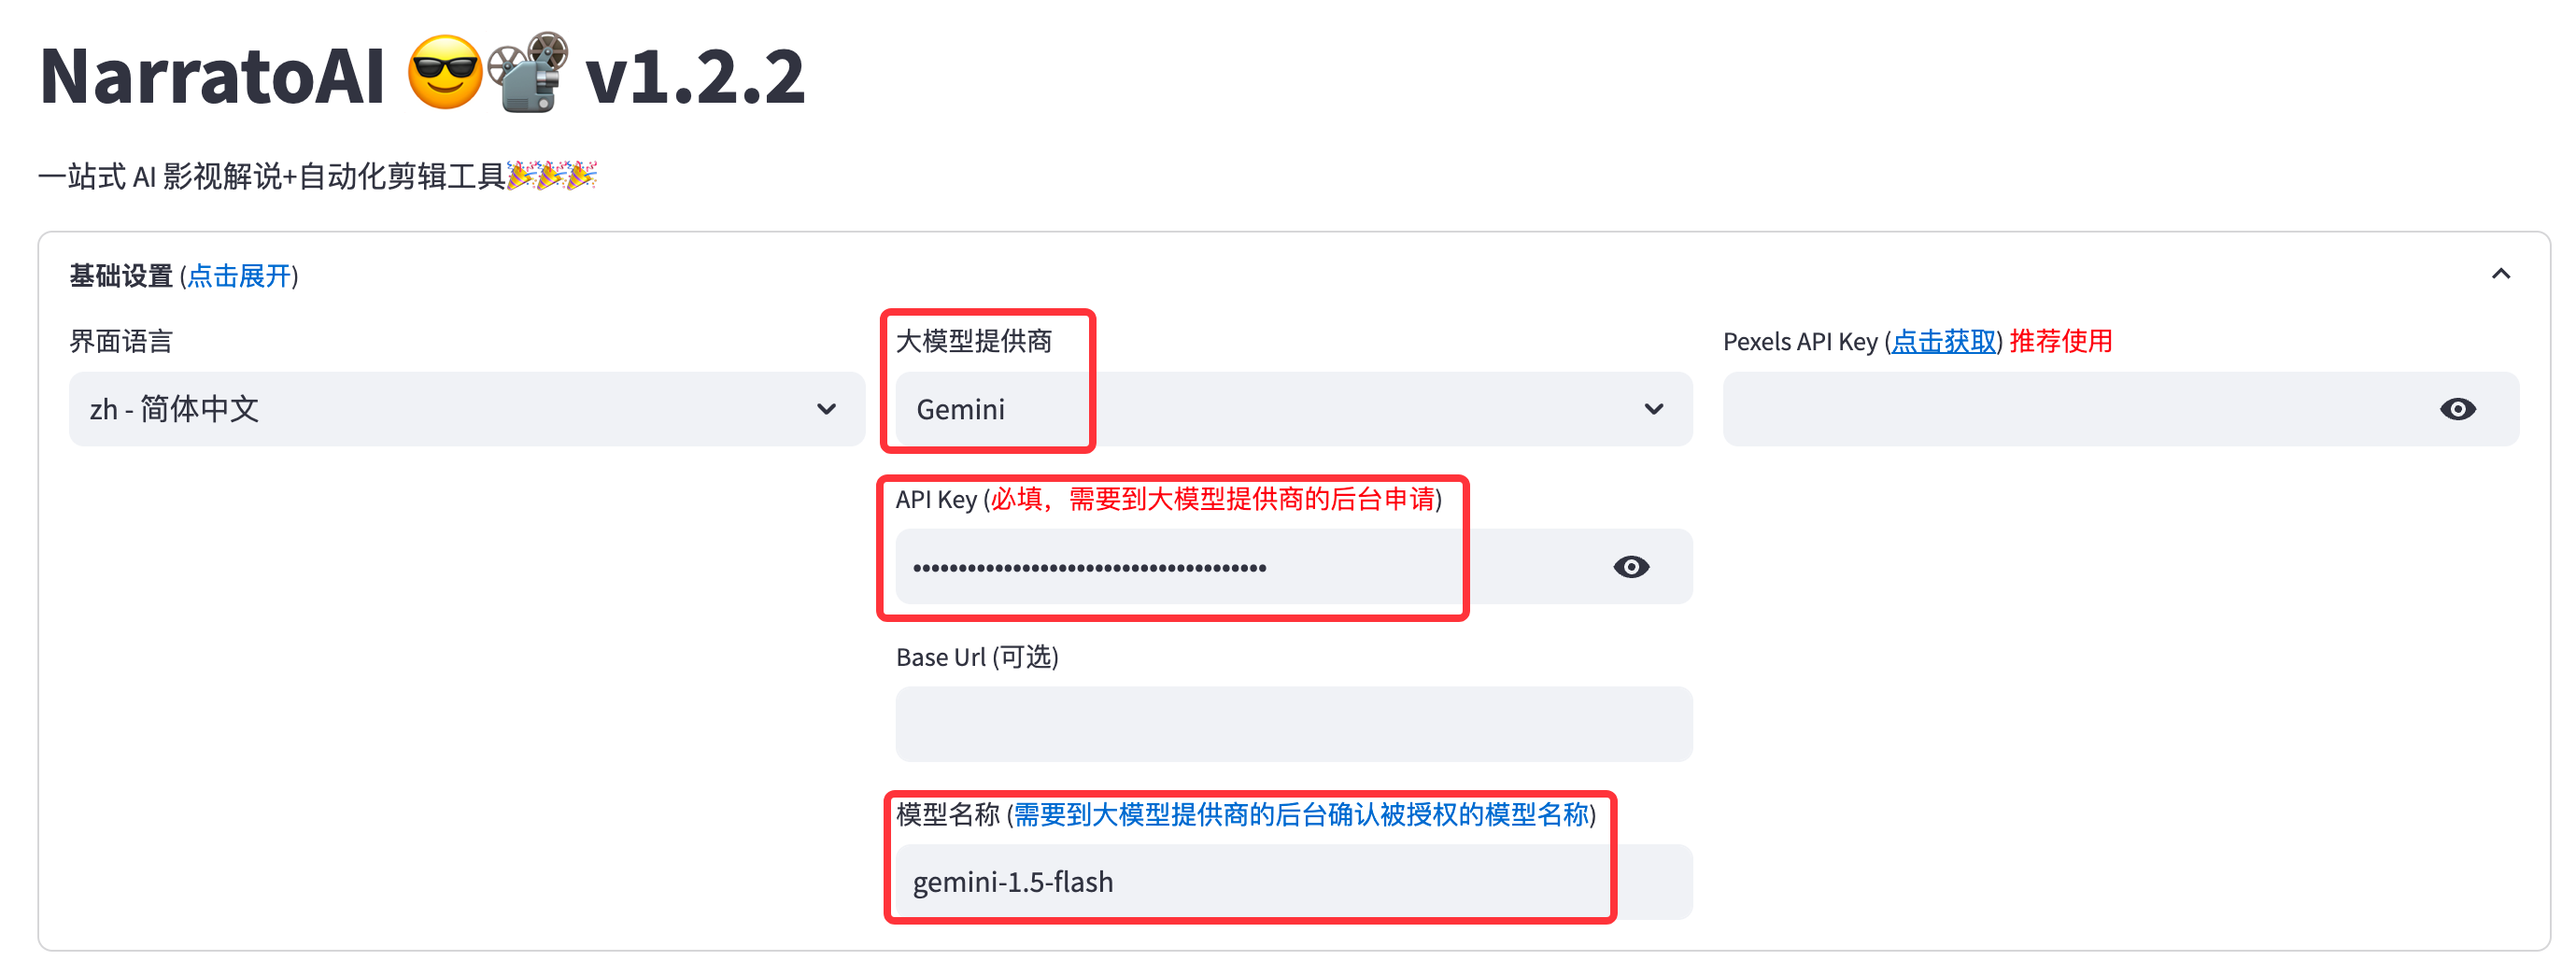
1. 基础配置,选择模型,填入APIKey,选择模型
目前暂时只支持
Gemini模型,其他模式待后续更新,欢迎大家提交 PR,参与开发 🎉🎉🎉
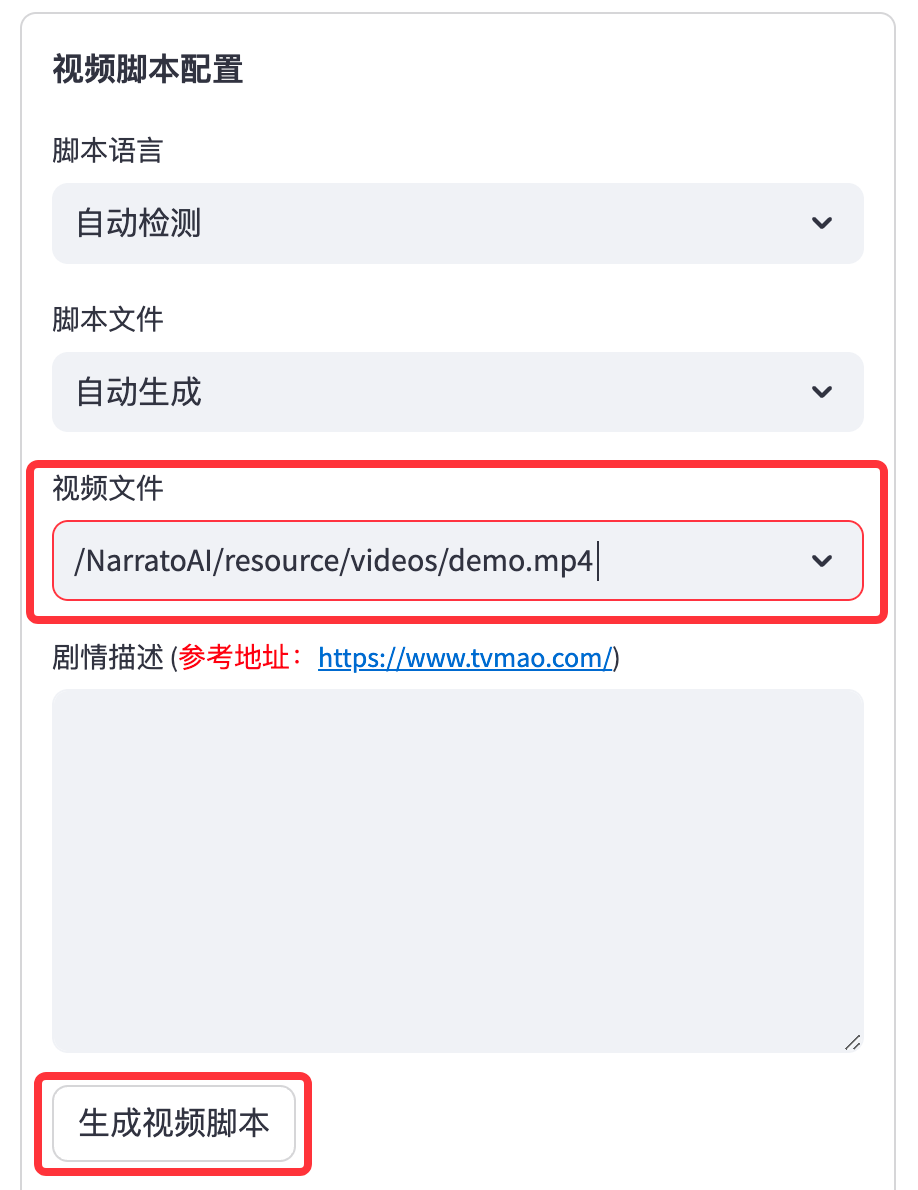
2. 选择需要解说的视频,点击生成视频脚本
平台内置了一个演示视频,若要使用自己的视频,将mp4文件放在
resource/videos目录下,刷新浏览器即可, 注意:文件名随意,但文件名不能包含中文,特殊字符,空格,反斜杠等
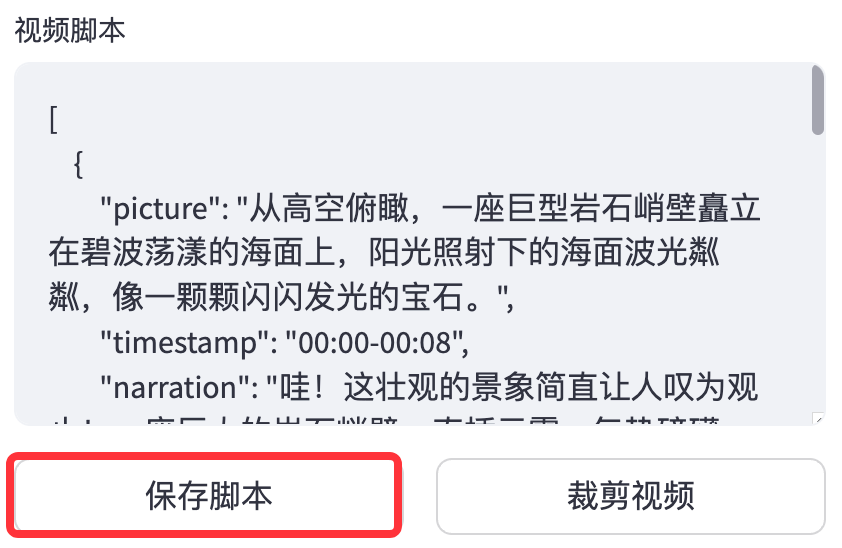
3. 保存脚本,开始剪辑
保存脚本后,刷新浏览器,在脚本文件的下拉框就会有新生成的
.json脚本文件,选择json文件和视频就可以开始剪辑了。
4. 检查视频,若视频存在不符合规则的片段,可以点击重新生成或者手动编辑
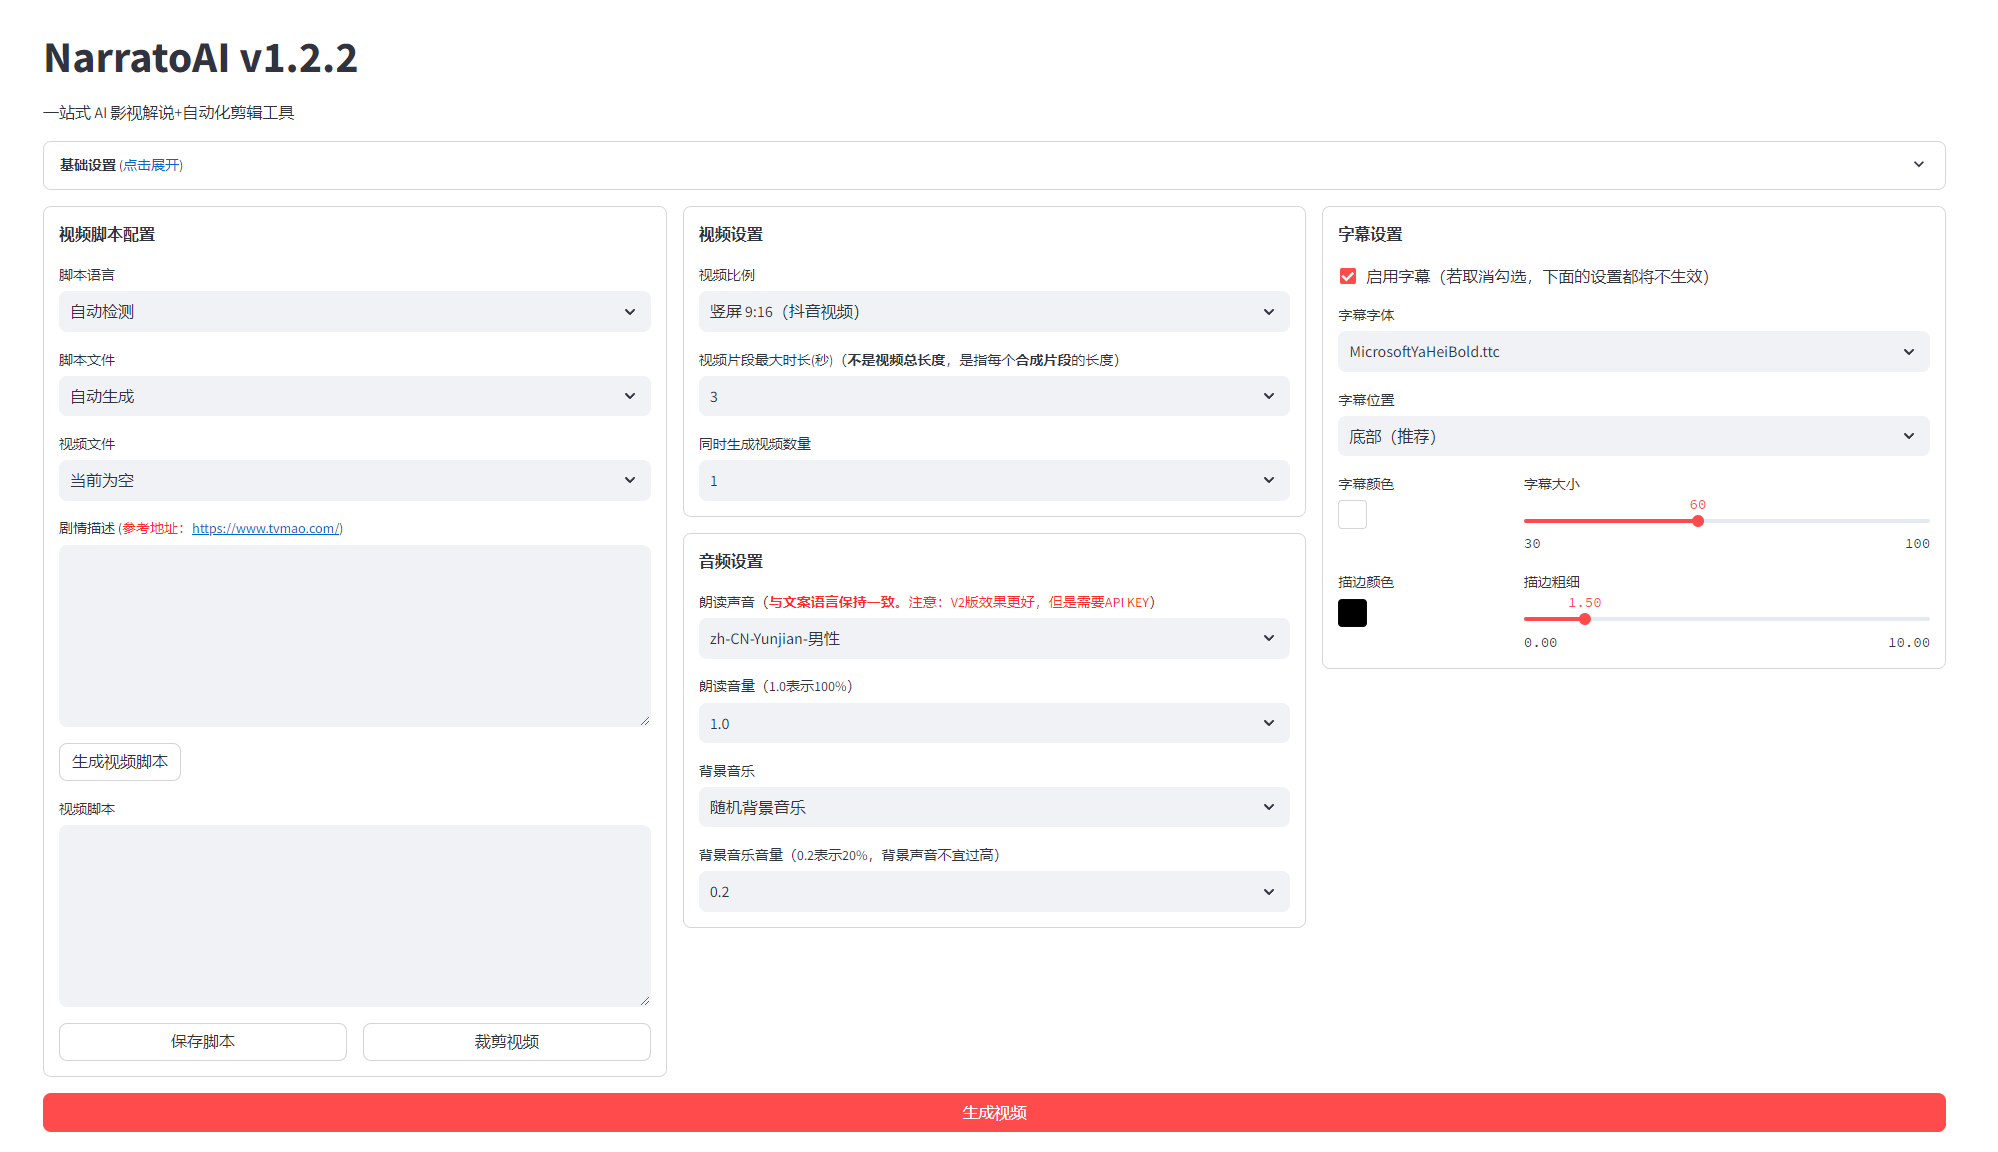
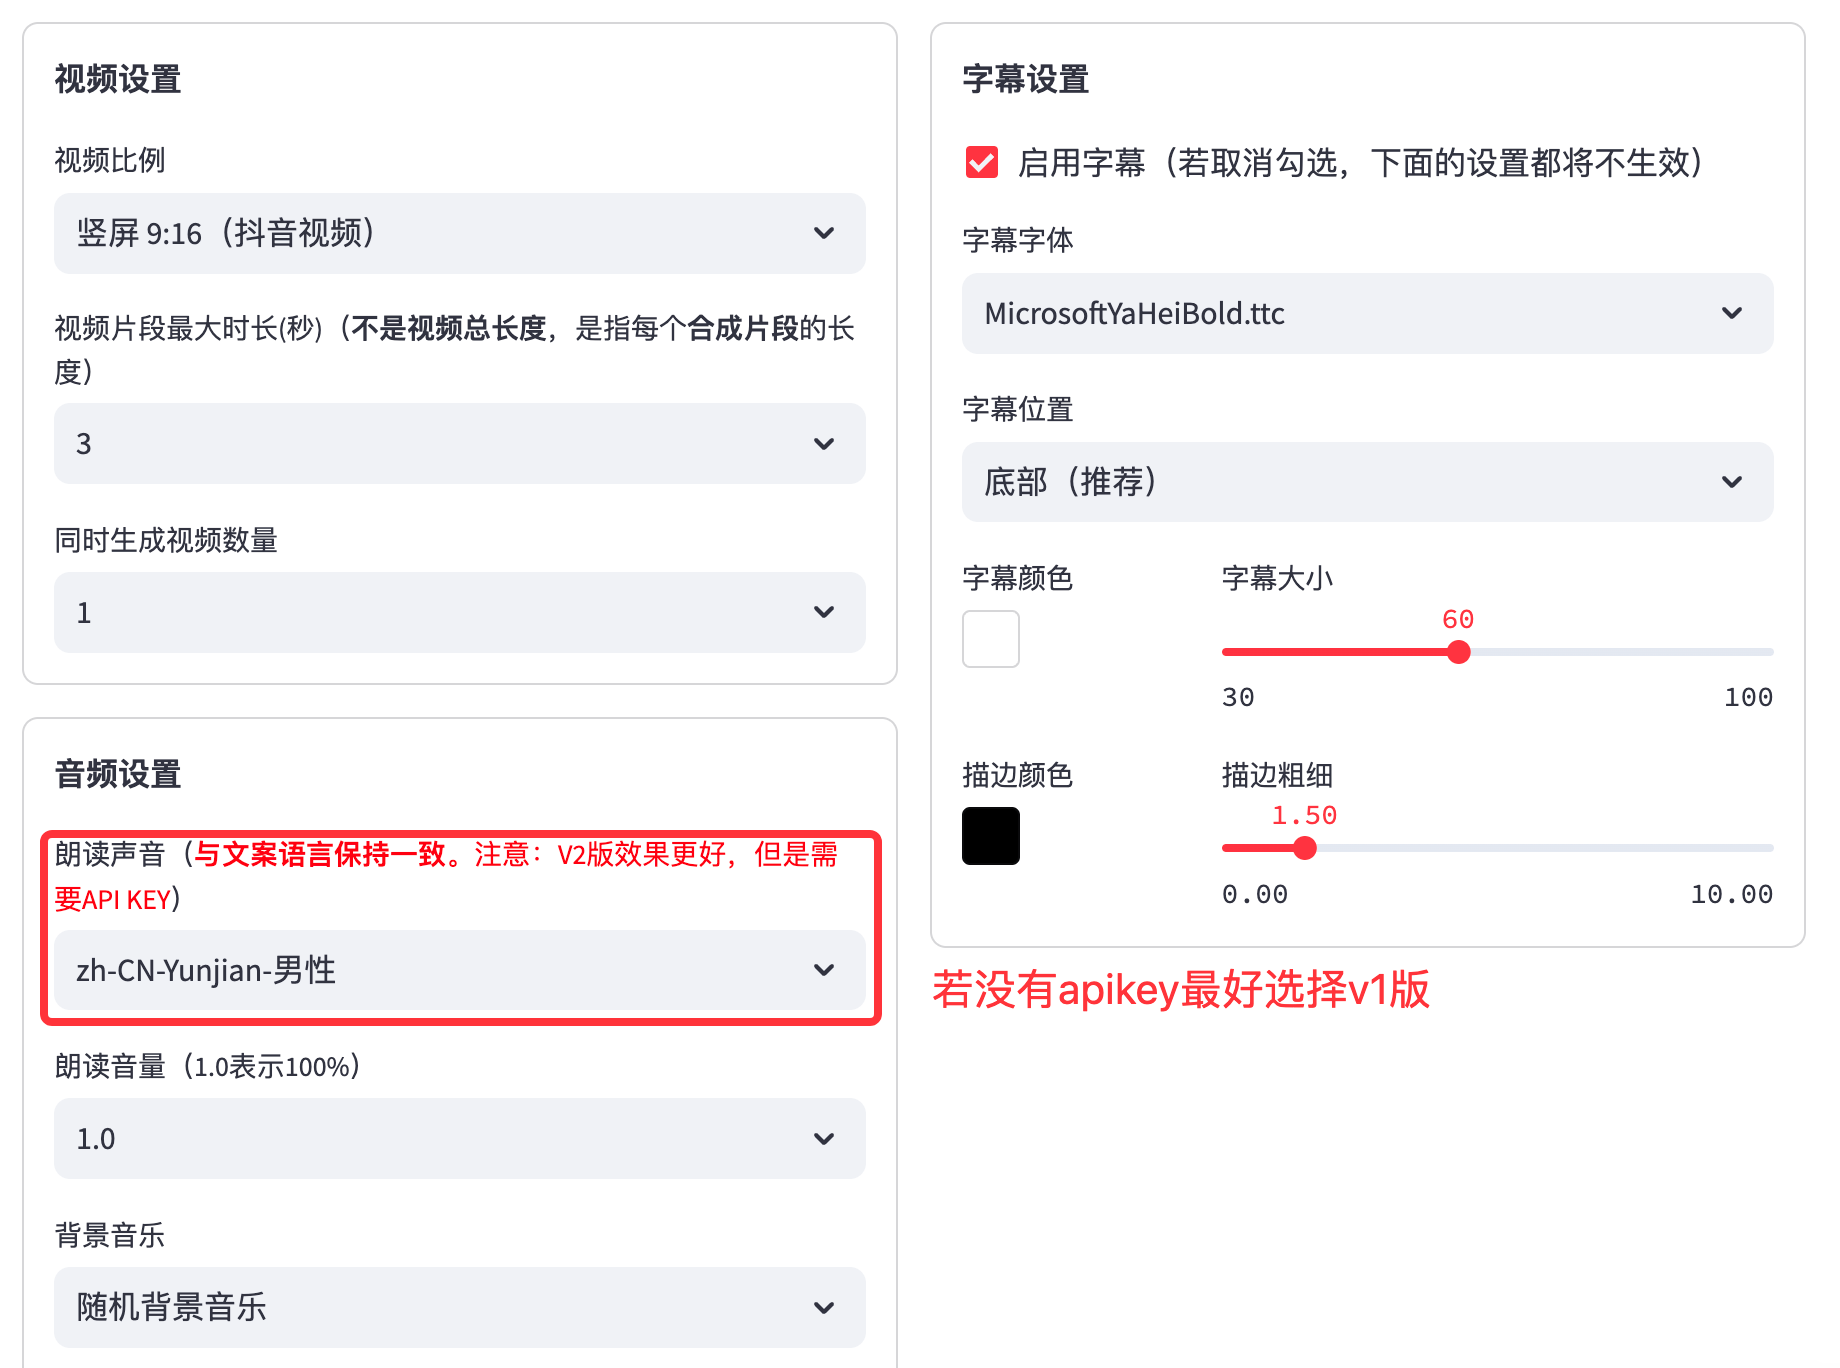
5. 配置视频基本参数
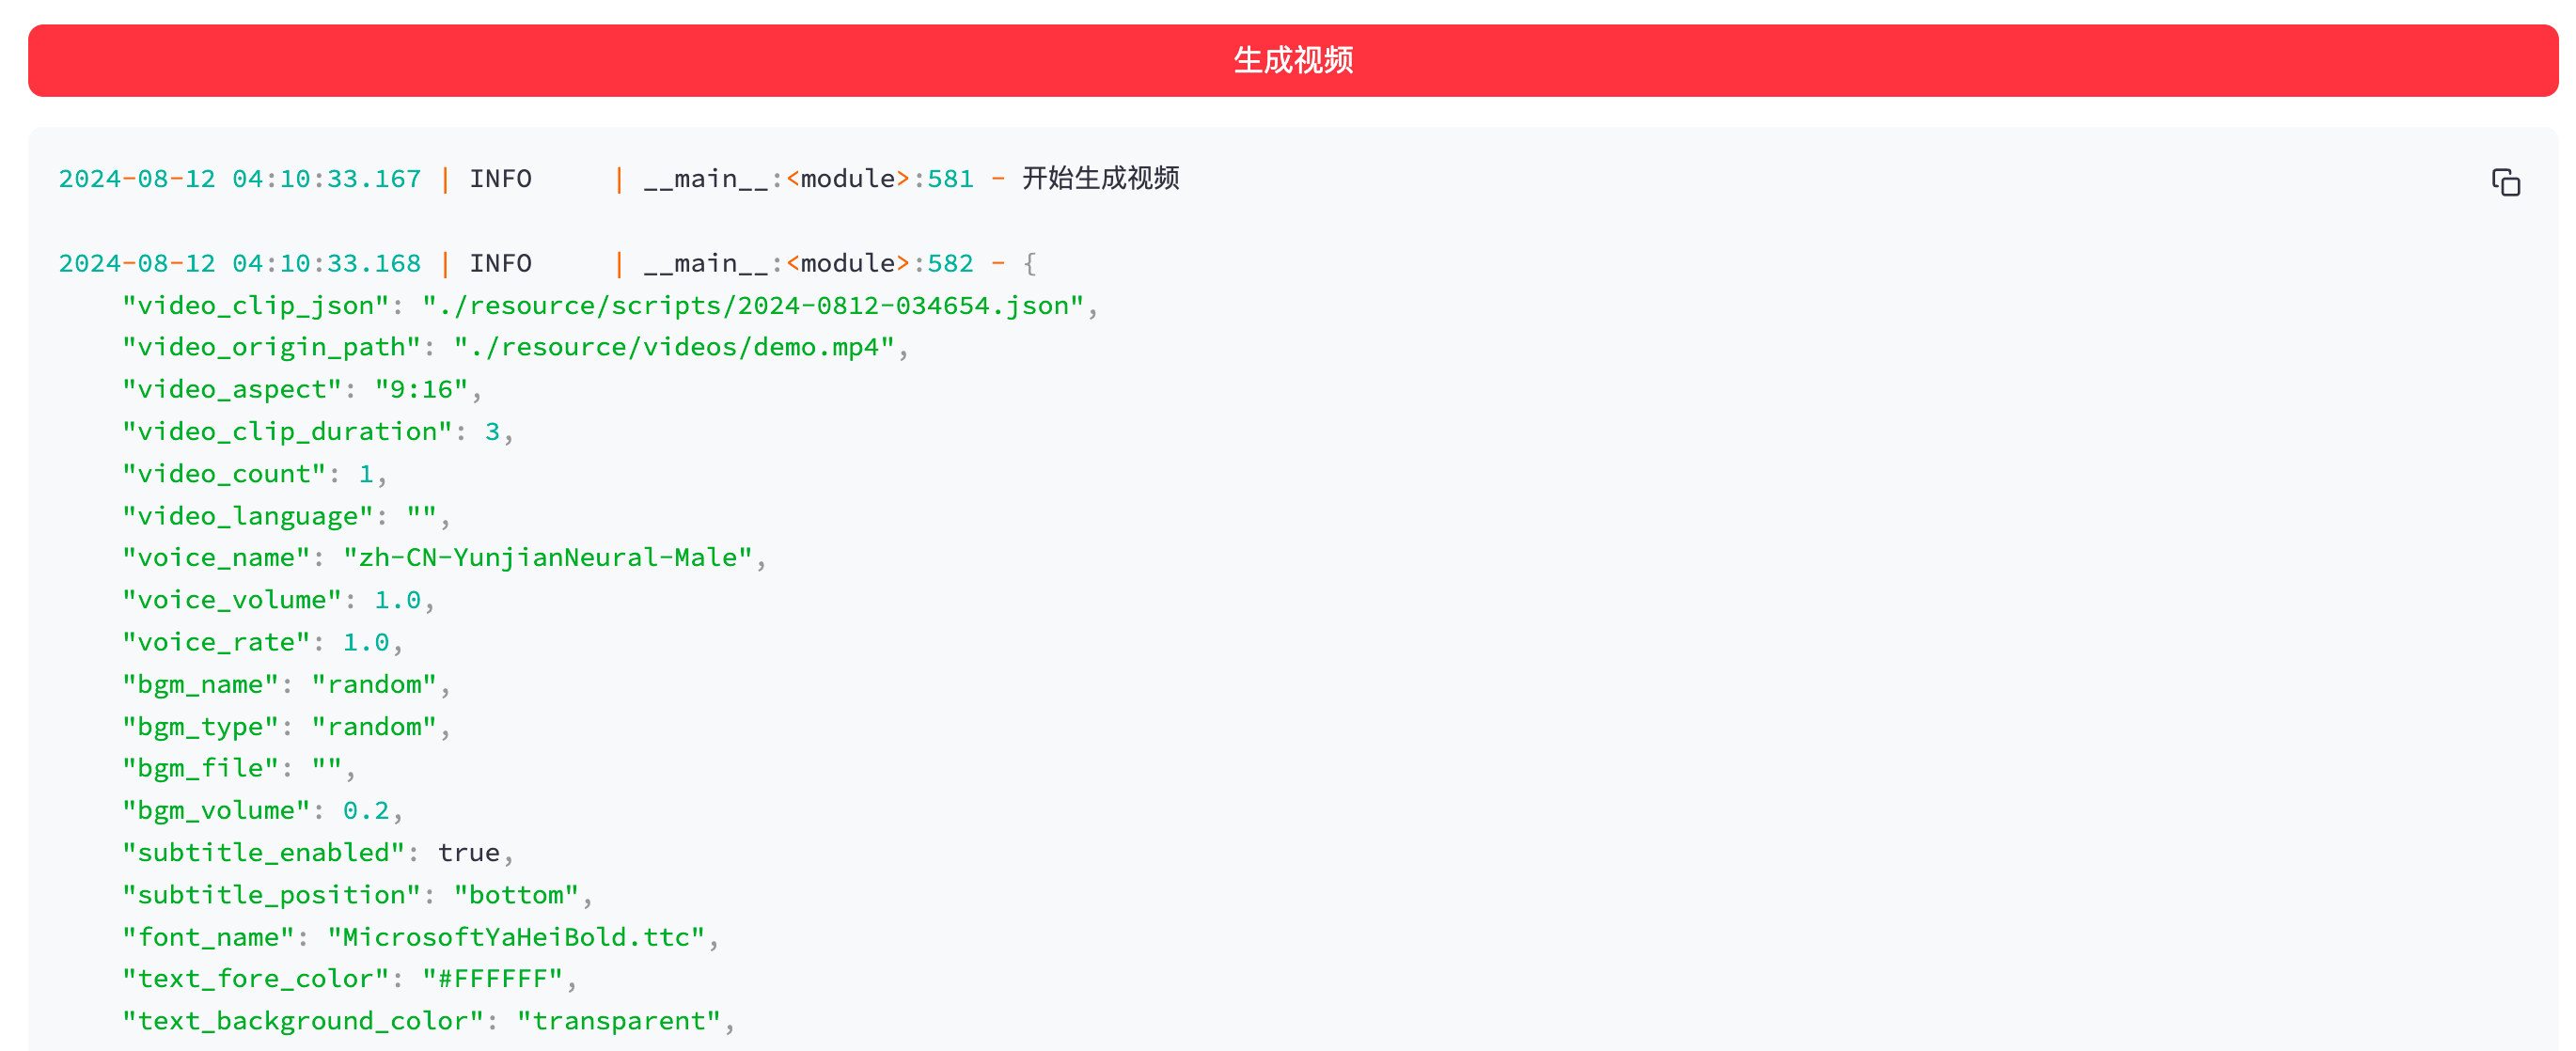
6. 开始生成
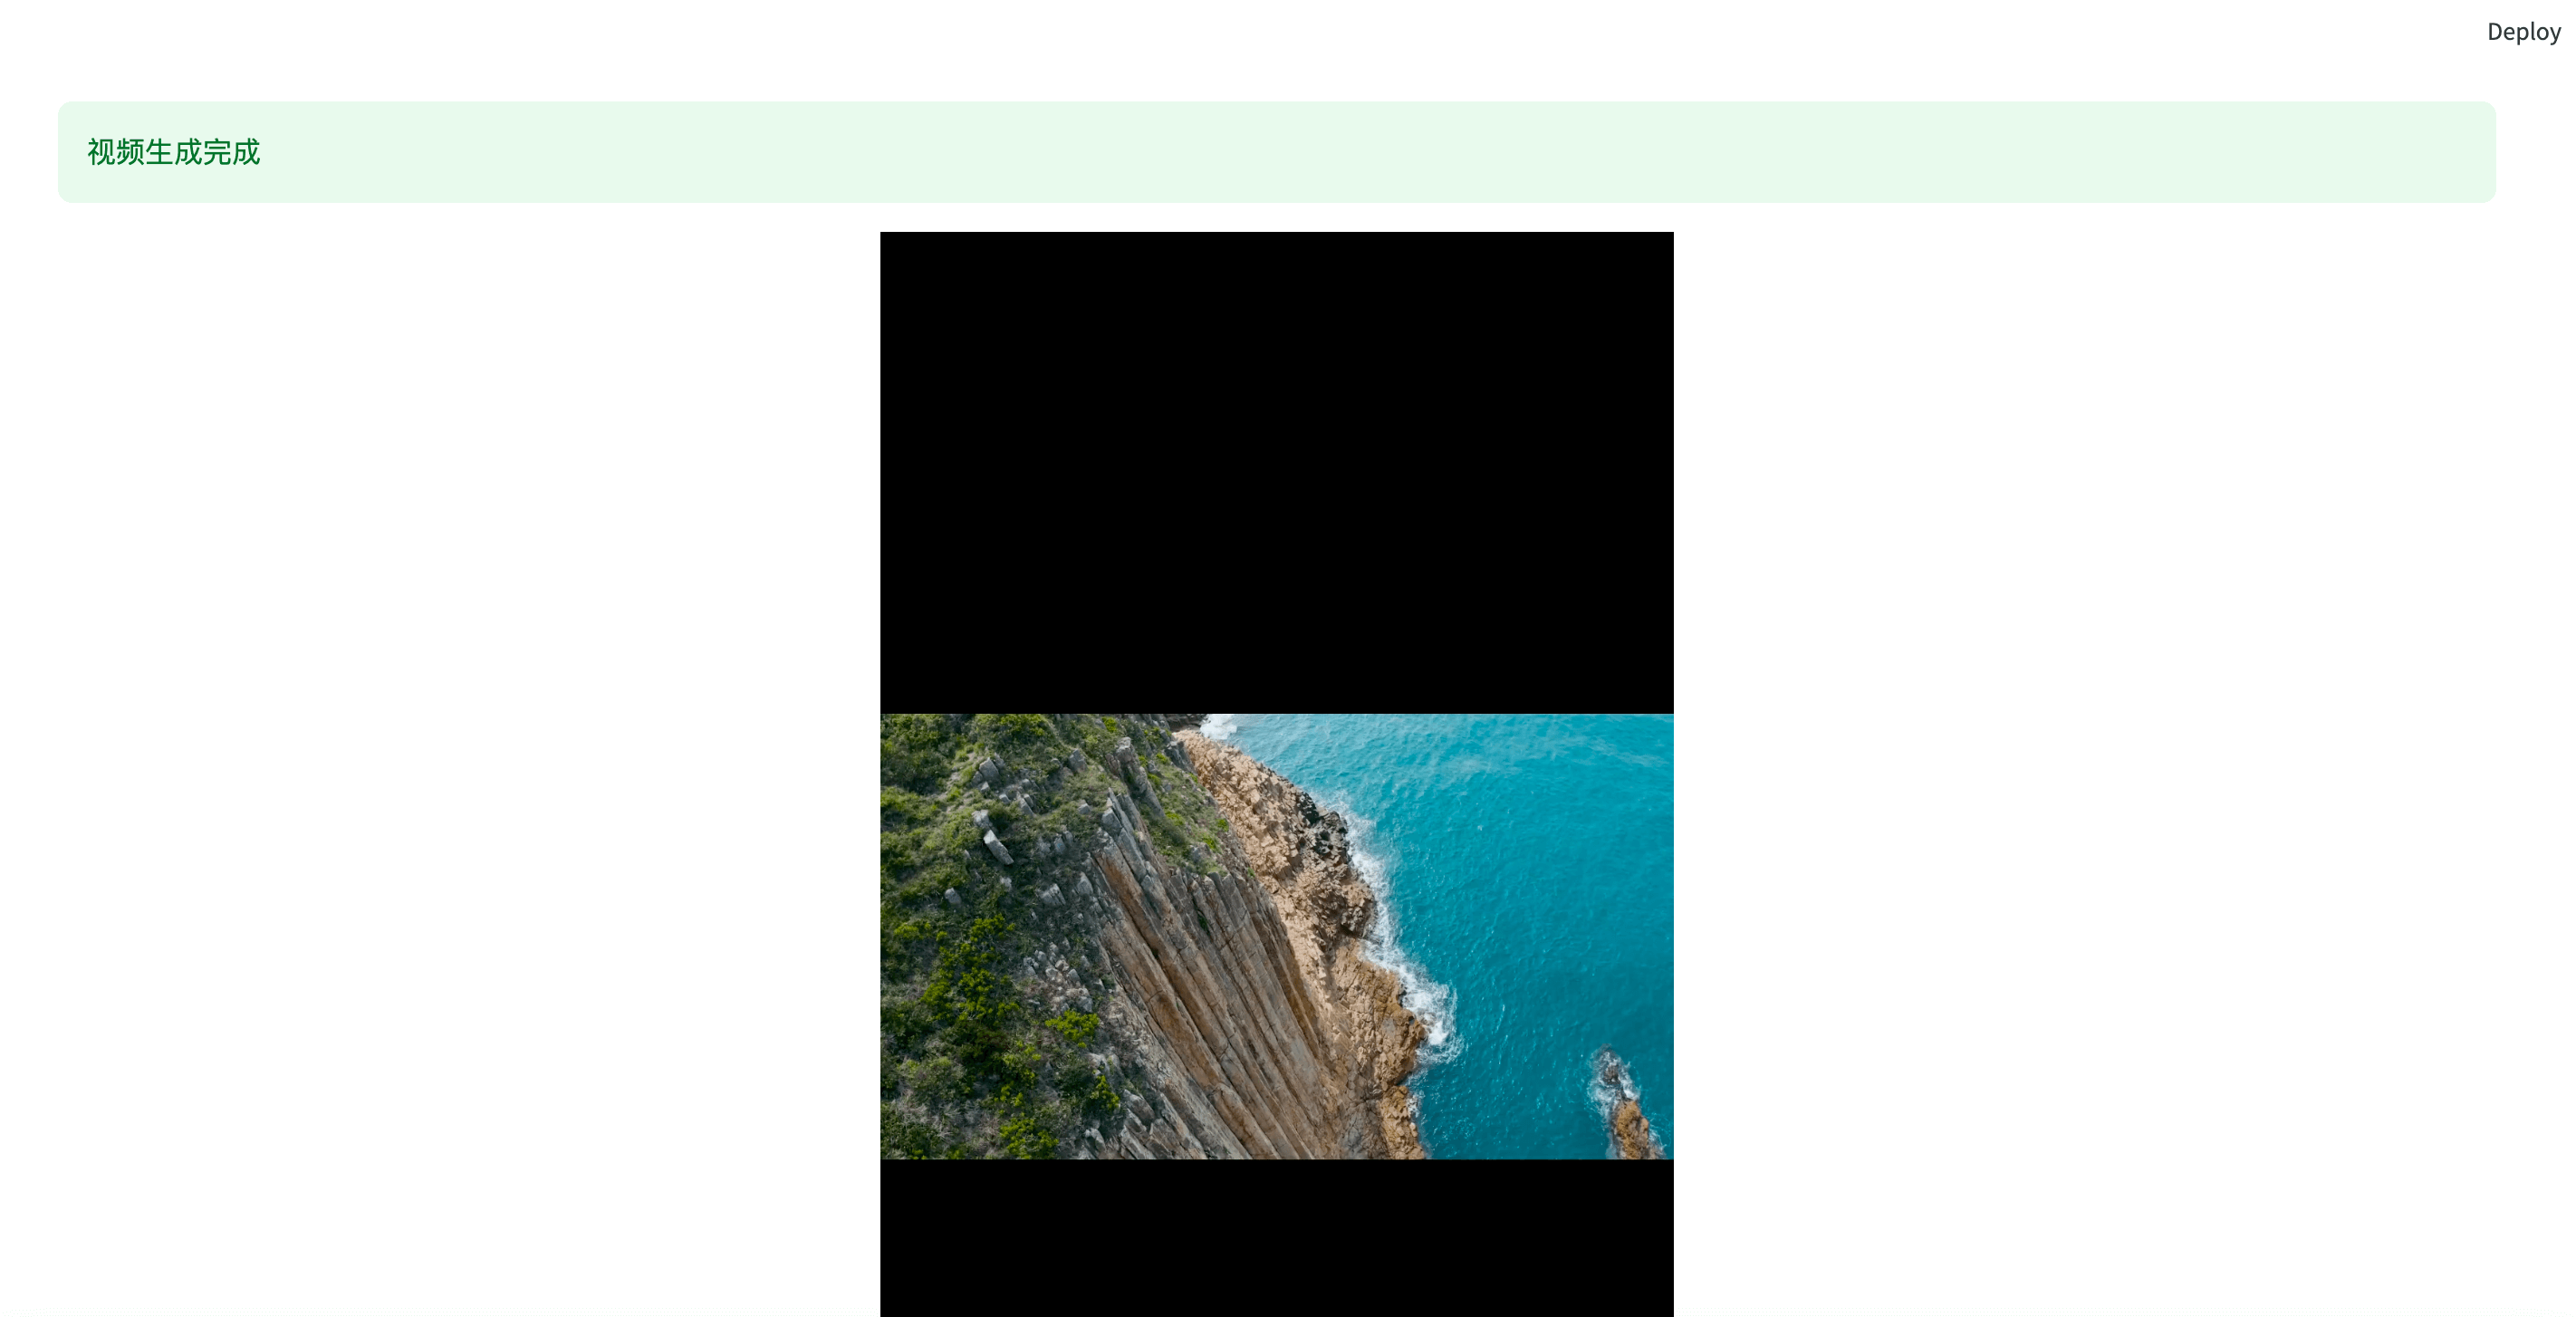
7. 视频生成完成
开发 💻
- 安装依赖
conda create -n narratoai python=3.10
conda activate narratoai
cd narratoai
pip install -r requirements.txt
- 安装 ImageMagick
Windows:
- 下载 https://imagemagick.org/archive/binaries/ImageMagick-7.1.1-36-Q16-x64-static.exe
- 安装下载好的 ImageMagick,注意不要修改安装路径
- 修改
配置文件 config.toml中的imagemagick_path为你的实际安装路径(一般在C:\Program Files\ImageMagick-7.1.1-Q16\magick.exe)
MacOS:
brew install imagemagick
Ubuntu
sudo apt-get install imagemagick
CentOS
sudo yum install ImageMagick
- 启动 webui
streamlit run ./webui/Main.py --browser.serverAddress=127.0.0.1 --server.enableCORS=True --browser.gatherUsageStats=False
反馈建议 📢
👏👏👏 可以提交 issue或者 pull request 🎉🎉🎉
参考项目 📚
该项目基于以上项目重构而来,增加了影视解说功能,感谢大佬的开源精神 🥳🥳🥳
许可证 📝
点击查看 LICENSE 文件